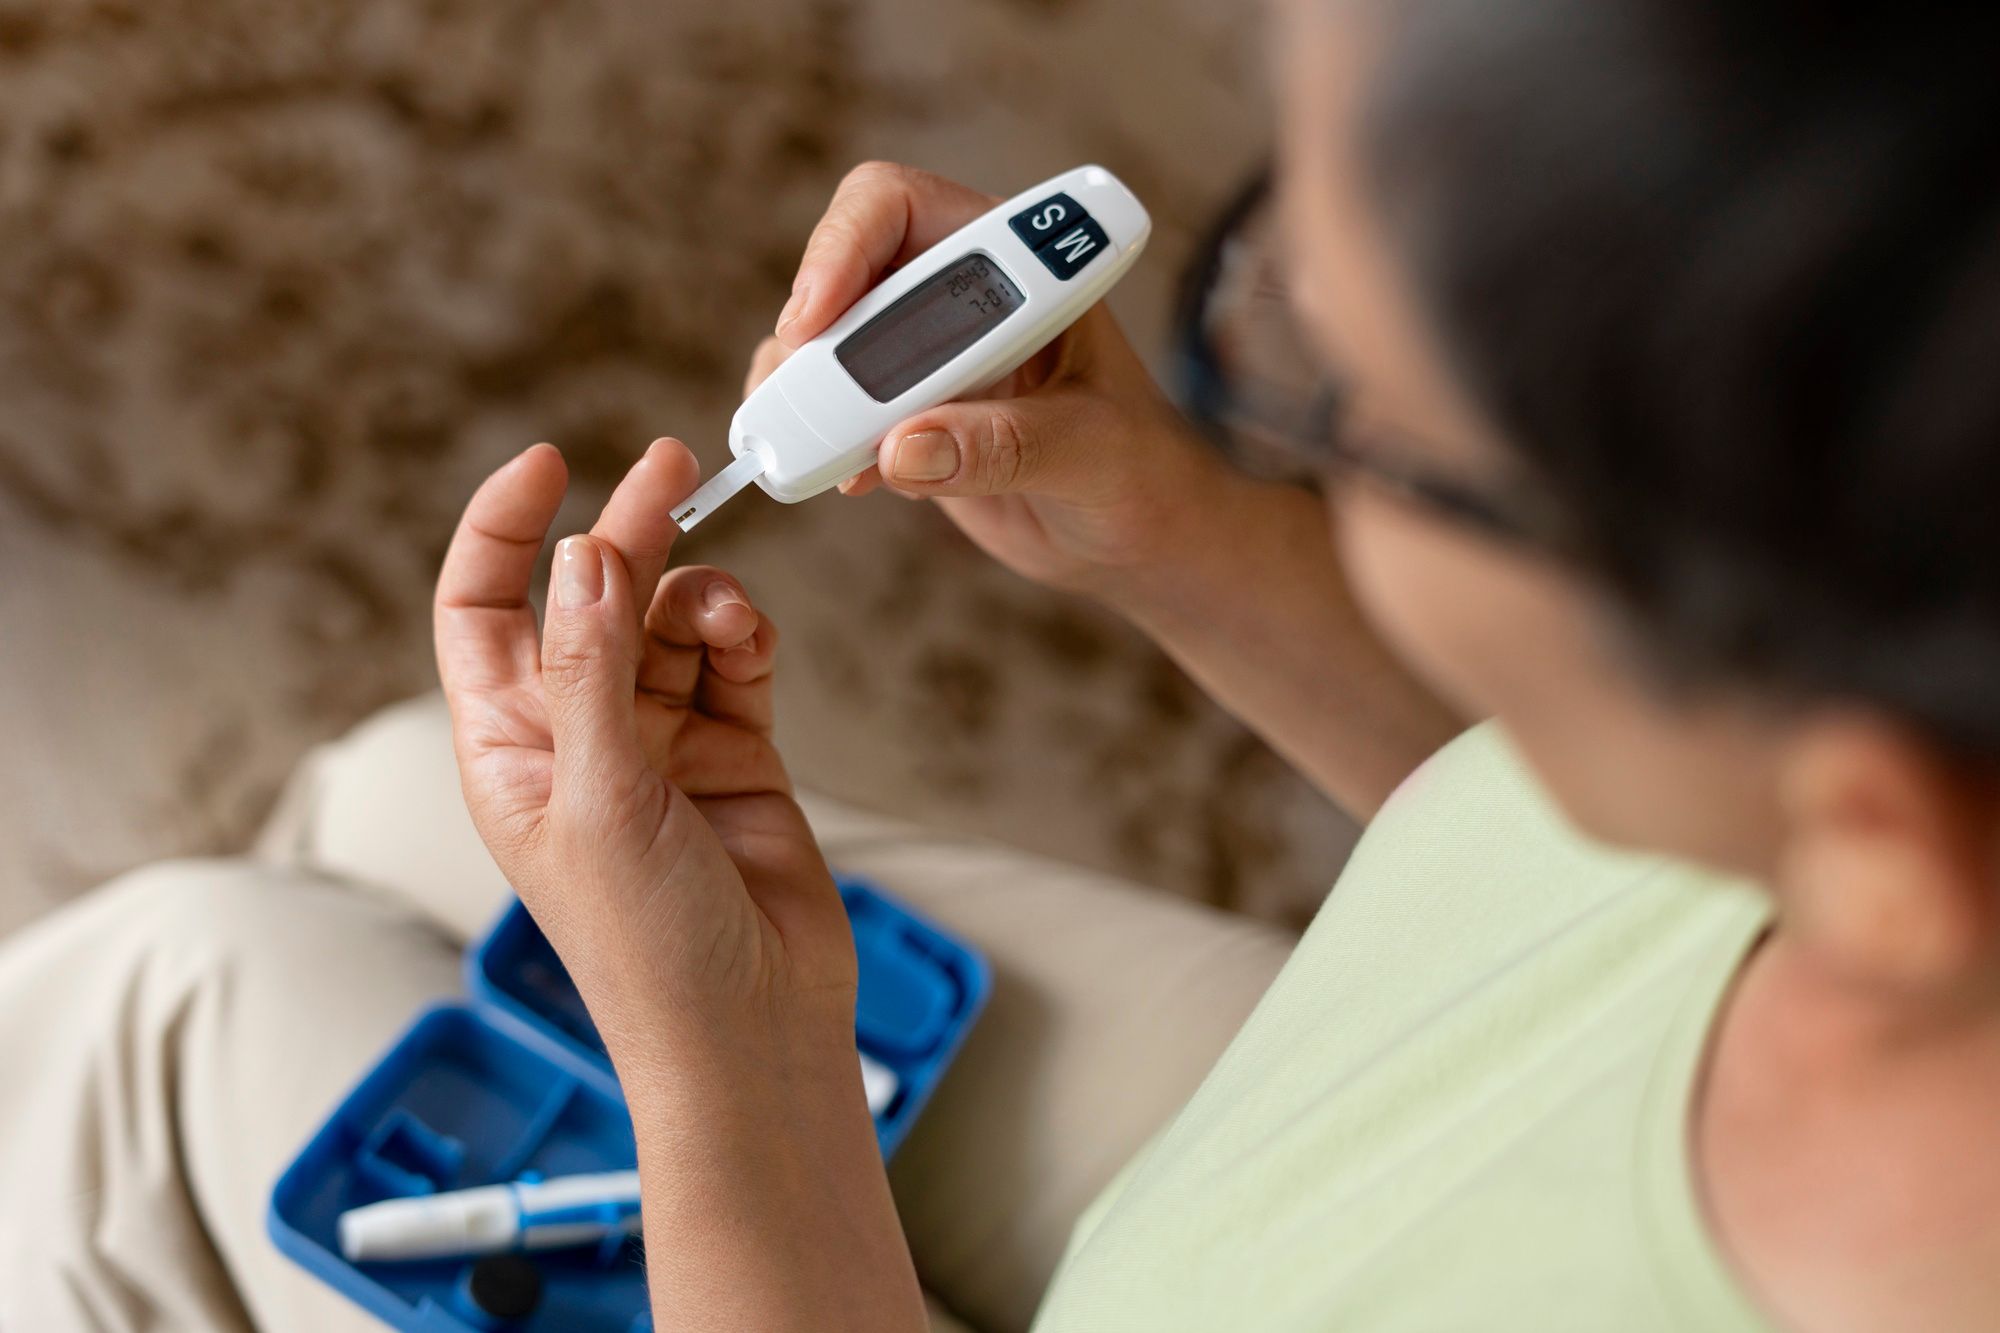
Living with diabetes necessitates a vigilant and proactive approach to managing blood glucose levels, and at the heart of this lies the crucial role of glucometer strips. These small, unassuming pieces of technology are more than mere accessories; they are lifelines for millions dealing with diabetes daily. We will understand their pivotal role in monitoring blood glucose levels and address the essential questions that every person with diabetes may have about these indispensable tools.

What are Glucometer Strips?
Glucometer strips play a pivotal role in providing individuals with accurate and timely insights into their blood glucose levels. These tiny strips, infused with advanced technology, facilitate the precise measurement of glucose in a person’s blood sample.
When a small blood sample is applied to the strip, enzymes within the strip react with glucose, producing an electrical current. The glucometer then measures this current and translates it into a numerical value, reflecting the blood glucose concentration. This process happens swiftly, allowing individuals to gauge their blood sugar levels with minimal effort.
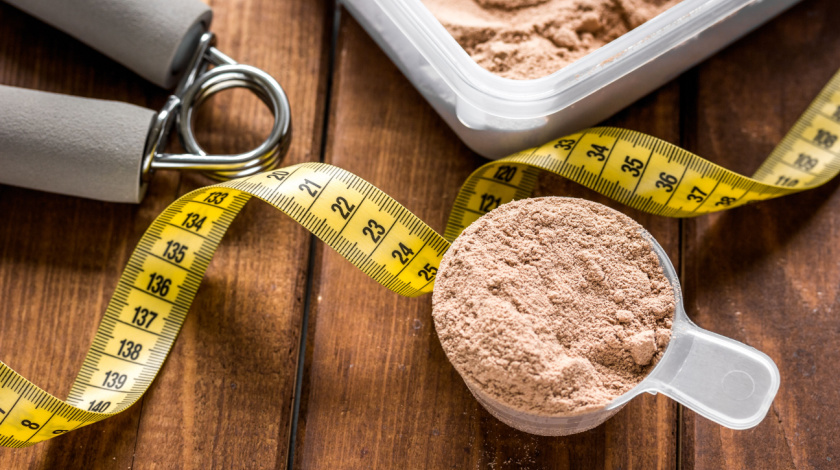
The accuracy of these readings is paramount, as they inform critical decisions regarding insulin dosages, dietary choices, and overall diabetes management. Reliable blood glucose data empowers individuals to make informed choices that directly impact their well-being, highlighting the indispensable nature of glucometer strips in the daily lives of those with diabetes.
Buy Now: BeatO Curv glucometer
Different Types of Glucometer Strips
The market offers a diverse array of glucometer strips, each designed to meet specific needs and preferences. Understanding the variations among these strips is essential for individuals to choose the one that aligns best with their lifestyle and requirements:
- Traditional Test Strips: These are the standard strips used with traditional glucometers. They require a larger blood sample and a longer processing time. While they remain a widely used and cost-effective option, advancements in technology have introduced alternatives that offer enhanced convenience.
- No-Code Strips: By overcoming the need to enter codes to match the strip with the glucometer manually, no-code strips simplify the testing process. Users can skip the coding step, reducing the likelihood of errors and streamlining the testing experience.
- High-Volume Strips: Designed for individuals who require frequent testing, high-volume strips often come with larger packaging to accommodate regular monitoring. This option ensures a steady supply of strips, minimizing the need for frequent refills.
- Alternate Site Testing Strips: While fingertip testing is common, some strips are specifically designed for testing on alternative sites like the forearm or palm. This provides individuals with the flexibility to choose a less sensitive area for testing, contributing to a more comfortable experience.
- Bluetooth-Enabled Strips: Embracing the era of digital health, some strips are equipped with Bluetooth technology. These strips seamlessly sync with mobile apps, allowing users to track and analyze their blood glucose data digitally. This connectivity enhances the overall management of diabetes by providing a comprehensive view of trends and patterns.
Buy Now:Sunfox Portable ECG Device
How to Use Glucometer Strips?
Effectively using glucometer strips is pivotal for obtaining accurate and reliable blood glucose readings. Here’s a step-by-step guide to ensure individuals can navigate the process with ease and precision:
1. Gather Your Supplies: Ensure you have all necessary supplies within reach: a clean glucometer, a fresh lancet, an alcohol swab, and, of course, your glucometer strips.
2. Wash Your Hands: Begin by washing your hands with soap and water. This step is crucial to eliminate any substances on your hands that could potentially interfere with the accuracy of the reading.
3. Prepare the Lancet: Load a fresh lancet into the lancing device. Adjust the depth setting based on your skin’s thickness and your comfort level.
4. Clean the Testing Site: Use an alcohol swab to clean the fingertip or the chosen testing site. Allow it to dry completely before proceeding to ensure a sterile environment.
5. Lance Your Finger: Use the lancing device to prick the side of your fingertip. Gently squeeze to produce a small drop of blood. Avoid squeezing too hard, as it can alter the glucose concentration in the blood.
6. Apply Blood to the Strip: Touch the edge of the glucometer strip to the blood drop until the strip has absorbed an adequate amount. Ensure that the entire absorbent area on the strip is filled.
7. Wait for Results: The glucometer will process the blood sample and provide a numerical reading on the screen. The duration may vary among different glucometer models, typically ranging from a few seconds to a minute.
8. Record the Reading: Note the blood glucose reading in your diabetes log or on your monitoring device. Keeping a record allows you and your healthcare team to track trends over time.
Common Mistakes to Avoid for Accurate Results
While using glucometer strips is a straightforward process, certain common mistakes can compromise the accuracy of the results. Here’s what to avoid:
1. Insufficient Blood Sample: Ensure an ample blood sample for the strip to absorb. Inadequate samples can lead to error messages or inaccurate readings.
2. Dirty Testing Site: Testing on a dirty or sugary fingertip can result in inaccurate readings. Always clean the testing site with an alcohol swab before pricking.
3. Expired Strips: Check the expiration date on your glucometer strips. Using expired strips can yield unreliable results.
4. Incorrect Coding (if applicable): If your glucometer requires manual coding, ensure the correct code is entered for the specific batch of strips in use.
5. Skipping Hand Washing: Neglecting to wash your hands before testing can introduce foreign substances that may affect the accuracy of the reading.
6. Squeezing the Finger Too Hard: Gentle squeezing is sufficient to obtain a blood sample. Excessive pressure can alter the glucose concentration.
From functionality to precise usage, these strips emerge as allies in the journey towards optimal health. Every drop of blood becomes a story, and with accurate usage, individuals can script a narrative of proactive and empowered diabetes care.
Disclaimer:The content of this article is compiled information from generic and public sources. It is in no way a substitute, suggestion, or advice for a qualified medical opinion. Always consult a specialist or your own doctor for more information. BeatoApp does not claim responsibility for this information
Looking for a seasoned diabetologist? ChooseDr. Navneet Agarwal, an expert with 25+ years of experience. His specialisation in diabetology and obesity management provides personalised care. Elevate your health with a doctor’s recommendedglucometer, buy now.